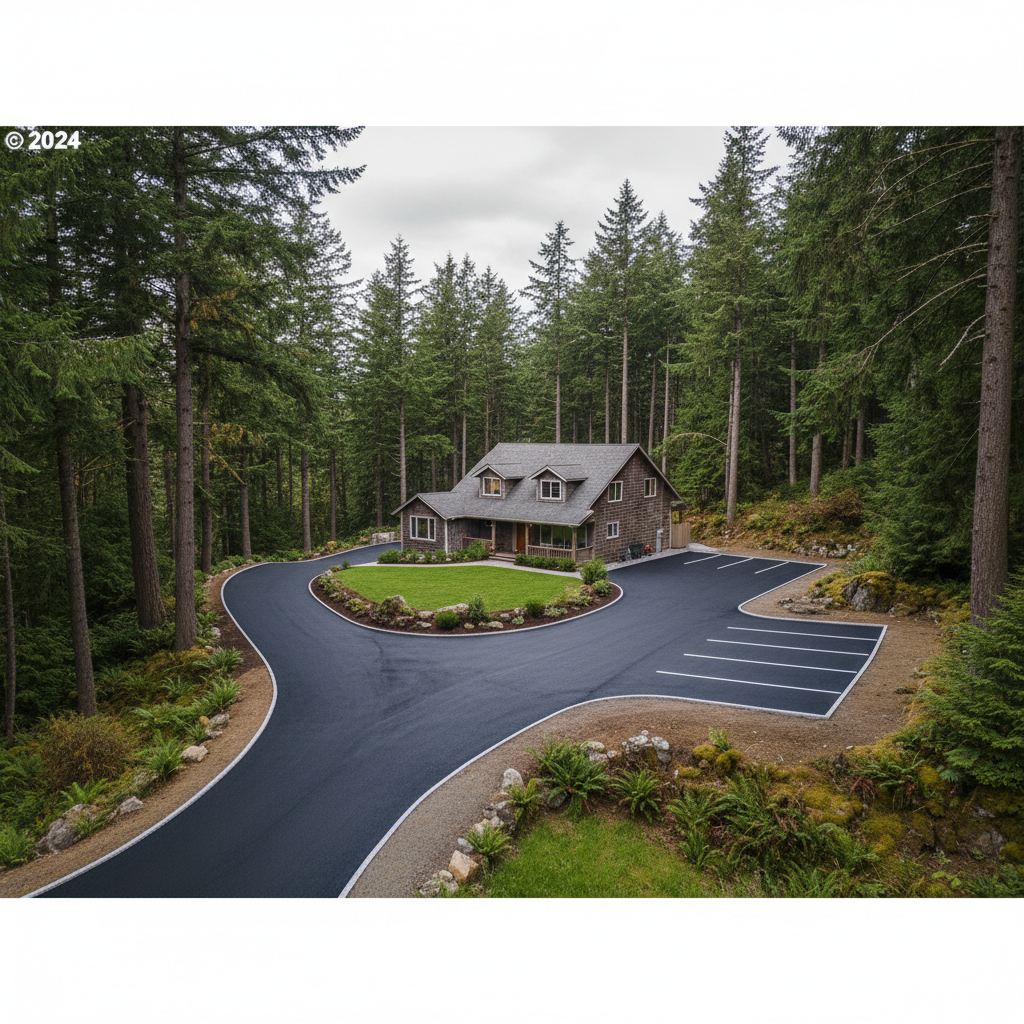
So, you're thinking about putting in a new asphalt driveway, huh? Or maybe you're finally re-doing that old, cracked-up parking spot at your place. That's a big project, no doubt, and you absolutely want it done right.
As someone who's been laying asphalt around Naselle for years, I've seen it all – the good, the bad, and, well, the truly ugly. This isn't just about pouring black stuff on the ground; it's about careful planning, thorough preparation, and knowing exactly what to expect. Let's walk through it together.
Setting Your Project Timeline
First off, don't rush this. A good asphalt project takes time, especially here in the Pacific Northwest where the weather can be a real wildcard. You're not going to call me up on Monday and have a brand-new driveway by Friday, not if you want quality work, anyway. Here's a realistic timeline breakdown:
- Initial Contact & Estimate (1-2 weeks): You reach out, and we schedule a visit. I'll come out, look at your property, measure things up, and then give you a detailed estimate. This isn't just a quick number; it includes materials, labor, and any specific challenges your site might have.
- Permits & Approvals (2-6 weeks, or more): This is often the longest part, and honestly, it's mostly out of our hands. Depending on your project's size and where your property is located in Naselle – maybe you're up on a hill with tricky drainage, or down by the river – you might need permits from the county or even the state. Don't skip this step. It can cause major headaches later, believe me.
- Scheduling (2-4 weeks): Once those permits are in hand and you've decided to go with us (hopefully Premium Asphalt!), we'll get you on the schedule. Our crew stays busy, especially during the drier months. We'll pick a date that works for everyone, keeping a close eye on the weather forecast, of course.
- Project Execution (3 days - 2 weeks): This is the actual work. Smaller driveways might be done in just a few days. Larger projects, or ones that need extensive grading and base work, could take up to two weeks. This doesn't even include the curing time.
- Curing Time (7-30 days): After the asphalt is laid, it needs to cure. You can usually drive on it lightly after a few days, but you should avoid heavy vehicles or sharp turns for a few weeks. I'll give you specific instructions for your project.
So, from that first phone call to full use, you're looking at anywhere from a couple of months to four or five. Patience really pays off here.
What to Expect During the Process
When we're actually on site, it's a pretty involved process. It's not quiet, and it's not always clean, but we do our best to minimize disruption.
- Demolition & Excavation: If you've got an old driveway, we'll rip it out. Then we excavate the area to the proper depth. This often involves heavy machinery, so expect some noise and vibration.
- Grading & Base Preparation: This is critical, absolutely critical. We'll grade the area to make sure water drains properly, away from your home and other structures. Then we lay down and compact a strong aggregate base. This base is the foundation of your driveway; if it's not right, your asphalt won't last. We're talking about making sure that Naselle rain has somewhere to go, not just pooling up.
- Asphalt Application: This is the main event. Hot asphalt gets delivered by truck, spread by a paver, and then compacted by heavy rollers. It's hot, it smells, and it's quite impressive to watch.
- Compaction & Finishing: Multiple passes with rollers ensure the asphalt is dense and smooth. We'll pay close attention to edges and transitions, too.
- Curing & Post-Project Care: Once we're done, we'll give you clear instructions on how to care for your new asphalt. This includes avoiding heavy loads, sharp turns, and sometimes even parking in the same spot for extended periods during the first few weeks.
How to Prepare Your Property
You can help make the process smoother for everyone. Before we even start, here's what you should do:
- Clear the Area: Move any vehicles, boats, RVs, trash cans, garden decor, or anything else out of the project zone. We need a clear workspace.
- Mark Utilities: If you have any private underground utilities (like sprinkler lines, invisible dog fences, or septic lines that aren't publicly marked), please mark them clearly. Call 811 for public utilities, but they won't mark your private stuff.
- Trim Landscaping: If you have bushes or tree branches hanging over the work area, trim them back. This protects your plants and gives our equipment room to maneuver.
- Secure Pets & Kids: Keep pets indoors or in a secure, fenced area away from the work. The site will be an active construction zone, and it's just not safe for children to be around.
- Inform Neighbors: Give your neighbors a heads-up about the upcoming work. There will be noise, trucks, and temporary access changes. A little courtesy goes a long way, you know?
- Plan for Access: Understand that your driveway will be inaccessible for a period. Plan where you'll park your cars and how you'll get in and out of your house.
Key Questions to Ask Before Signing a Contract
Before you commit to any contractor, including us, you need to be asking the right questions. Don't be shy; this is your property and your money.