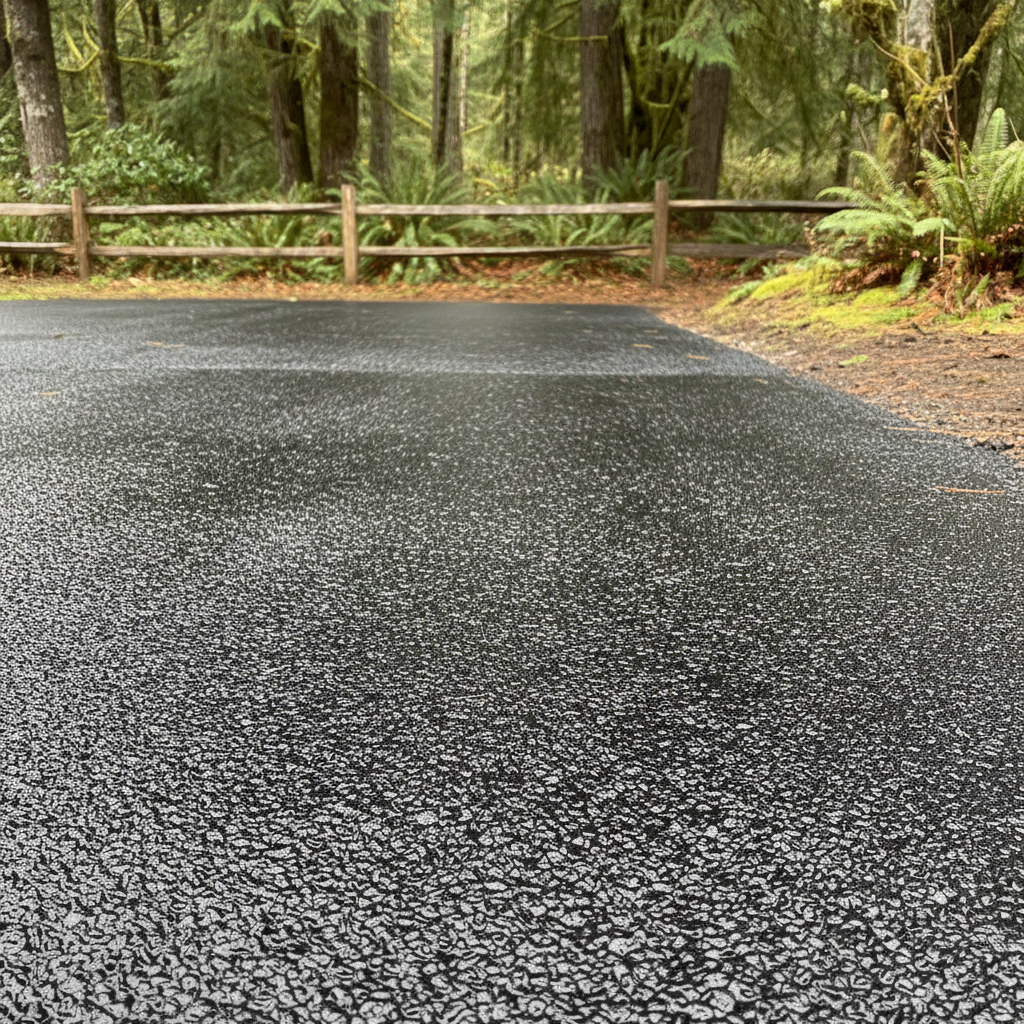
Alright, let's talk sealcoating. You've got an asphalt driveway, and you probably know sealcoating is important for keeping it looking good and lasting a long time. But you might be wondering, can I just do this myself, or should I call someone like us at Premium Asphalt?
That's a fair question, and the answer isn't always black and white. There are definitely parts of the job you can handle, and then there are times when trying to save a buck actually ends up costing you more in the long run. Let's dig into it.
Before You Even Think About Sealcoating
First things first, you've got to get your driveway ready. This isn't just a quick sweep; it's a real cleaning job. You're looking to remove any dirt, debris, oil spots, and weeds. If you don't do this right, your sealcoat won't stick, and you'll have wasted your time and money. What a pain, right?
- Clean it thoroughly: A good power wash is usually your best friend here. Get rid of all that moss and grime that builds up, especially on those shadier driveways we see around the Naselle River area. Make sure it's completely dry before you even think about applying anything.
- Tackle those cracks and potholes: Sealcoating isn't a magic fix for structural problems. Any cracks wider than a quarter-inch, or any potholes, need to be repaired *before* you sealcoat. You can find asphalt crack filler at most hardware stores. Follow the directions carefully. For bigger repairs, like actual potholes, you might be looking at cold patch asphalt, which is a bit more involved. If you skip this step, the sealcoat will just bridge over the cracks, and they'll reopen in no time, letting water seep in and cause more damage.
- Check the weather: This is huge. You need a few days of clear, warm weather. Not too hot, not too cold. Usually, 50-85 degrees Fahrenheit is the sweet spot, and no rain in the forecast for at least 24-48 hours after application. Our Naselle weather can be a bit unpredictable, so really keep an eye on that forecast.
Can you do all this prep yourself? Absolutely. It's elbow grease, but it's totally manageable for most homeowners. This is where you save some money if you're going the DIY route.
The Sealcoating Application: DIY or Pro?
Now, here's where things get a little more nuanced. Applying the sealcoat itself.
DIY Application:
- Products: You can buy consumer-grade sealcoat at home improvement stores. It usually comes in 5-gallon buckets.
- Tools: You'll need a squeegee, brushes for edges, and maybe a roller.
- Process: You'll typically apply two thin coats, allowing proper drying time between them. You need to work quickly and evenly to avoid streaks and uneven coverage. Edging is critical – you don't want to get it all over your concrete sidewalks or landscaping.
- The Catch: Consumer-grade sealcoats are generally thinner and don't last as long as professional-grade products. They're also often water-based, which is easier to work with but less durable. It's a lot of physical labor, and it's easy to make mistakes that show up later, like uneven spots or missed areas. Plus, if you don't prep properly, even the best application won't hold up.
Professional Application:
- Products: We use commercial-grade, coal-tar emulsion or asphalt emulsion sealers. These are tougher, thicker, and designed to last longer. They contain additives for better adhesion, flexibility, and UV resistance.
- Equipment: We've got specialized spray equipment that ensures an even, consistent coat, and we can cover large areas much faster and more efficiently than you can with a squeegee.
- Expertise: We know the right thickness, the right technique, and how to handle different driveway conditions. We're also insured, so if something goes wrong, you're not on the hook.
- The Benefit: A professional job, while costing more upfront, generally lasts longer and looks better, giving you more bang for your buck over time. You're getting a superior product applied by people who do this every day.
My honest take? For very small, perfectly flat, and well-maintained driveways, a DIY sealcoat might be okay for a temporary refresh. But for anything larger, with even a few minor issues, or if you want a finish that truly protects and lasts, calling in a pro is usually the smarter move. We've seen plenty of DIY jobs that end up needing a professional fix sooner than they should have.
After the Sealcoat is Down
Whether you DIY or hire us, the aftercare is pretty similar:
- Stay off it: You absolutely have to let it cure. Typically, you need to stay off the driveway for at least 24-48 hours for foot traffic, and 48-72 hours for vehicle traffic. If it's cooler or more humid, it might need even longer. Rushing this will mess up your new sealcoat.
- Be gentle: For the first week or so, avoid turning your steering wheel sharply when the car is stationary on the driveway. This can scuff or tear the fresh sealcoat.
- Regular cleaning: Keep it clean. Sweep off leaves and debris regularly. Promptly clean up any oil or gas spills.
Sealcoating is a crucial part of asphalt maintenance. It protects your investment from water, UV rays, and oil spills, extending its life and keeping it looking sharp. Don't underestimate the prep work, and seriously consider the quality difference between a DIY job and a professional one. When you're ready for a quote, give Premium Asphalt a call. We're here to help you make the best decision for your driveway.