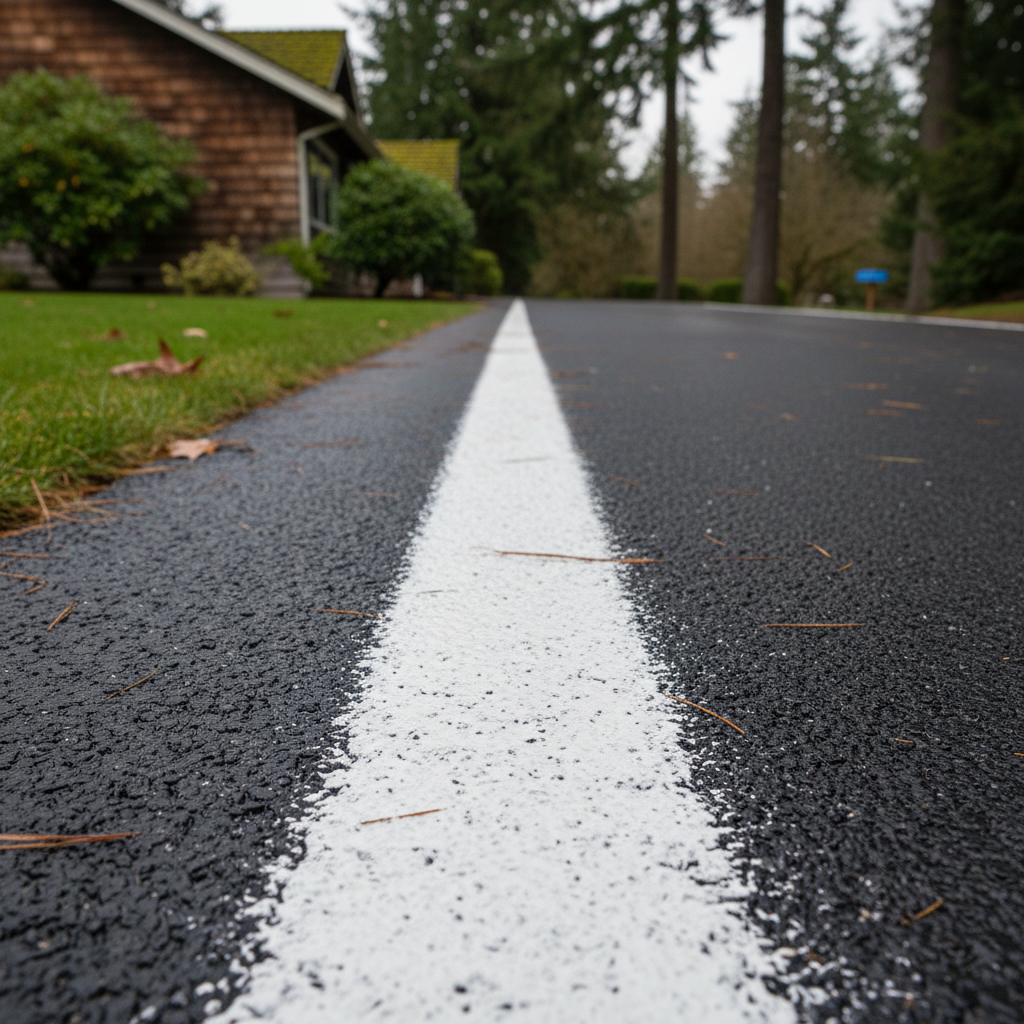
So, you've got an asphalt driveway, maybe a small parking pad, or even a basketball court, and you're thinking about adding some lines to it. Good call! Fresh striping can really spiff up a property, make parking a lot clearer, and even boost that curb appeal. But before you just grab a can of spray paint, let's chat about what's actually involved and what you should know.
Before You Start: Planning & Prep
First things first, figure out what you're actually trying to stripe. Just a couple of parking spots? A clear path for visitors? Or maybe a play area for the kids? Knowing your goal helps you get a handle on the project's size.
- Clean that surface: You wouldn't paint a dirty wall, right? Same goes for asphalt. Sweep off all the loose dirt, leaves, and gravel. If you've got moss or mildew, which is pretty common in our damp Naselle climate, you'll definitely need to pressure wash it. Just make sure it's completely dry before you even think about painting.
- Measure twice, stripe once: This is where most DIYers run into trouble. Parking spaces have standard widths, usually 9-10 feet wide and 18-20 feet long. If you're doing a basketball court, you'll need super precise measurements for the free-throw line, three-point arc, and center court. Don't just eyeball it, please. Grab a tape measure, a chalk line, and maybe some string to lay out your design.
- Choose the right paint: This isn't your average house paint. You need traffic paint, sometimes called pavement marking paint. It's built to stand up to vehicle traffic, weather, and UV rays. You can usually find it at most hardware stores or construction supply places. Just double-check it's good for asphalt.
During the Project: Tools & Techniques
Okay, you've got a clean, dry surface, your measurements are all set, and you've got the right paint. Now for the actual striping part.
- DIY Tools: For smaller jobs, you can get by with a few things. A good quality painter's tape (the wide stuff, like 2-3 inches) is going to be your best friend for getting those crisp edges. A roller with a short nap or a sturdy brush can work for filling in. For lines, some folks try a specialized spray can applicator that holds the can upright and gives a more consistent line.
- The Chalk Line Method: After you've measured everything, snap a chalk line to mark your edges. This gives you a clear guide. Then, carefully put your painter's tape right along that chalk line. Press it down really firmly to stop any bleed-through.
- Painting: Apply thin, even coats. It's always better to do two thin coats than one thick, gloppy one that takes forever to dry and might just peel. Follow the paint manufacturer's drying time recommendations. This is super important, especially with our cool, damp mornings around here. You certainly don't want tire marks ruining your hard work.
- When to Call a Pro: Look, if you're talking about more than just a couple of simple parking spots, or if you need curved lines (like for a basketball court's three-point arc), things get tricky fast. Professional striping companies, like us at Premium Asphalt, use specialized equipment. We've got walk-behind stripers that lay down perfectly straight, consistent lines, and stencils for handicap symbols, arrows, and numbers. Plus, we know the right paint for different applications and how to make it last. If you want it to look truly professional and last for years, a pro is usually the way to go.
After the Striping: Curing & Maintenance
You've laid down your lines, and they look great. So, what's next?
- Curing Time: This is a big one. Don't drive on your freshly striped asphalt until the paint is fully cured, not just dry to the touch. This could take anywhere from a few hours to a whole day, depending on the paint type and weather. Read that label!
- Maintenance: Keep the area clean. Regular sweeping really helps stop dirt and debris from wearing down the paint. If you notice weeds or moss starting to pop up near the lines, deal with them quickly.
- When to Re-stripe: Over time, even the best traffic paint will fade and wear down. How long it lasts depends on how much traffic it sees, weather exposure, and how well it was put down originally. For most residential driveways, you might get 2-5 years before it starts looking a bit tired. When the lines start to look faint or chipped, it's probably time to think about a refresh.
Striping your own asphalt can be a pretty rewarding project for small, simple jobs. But don't underestimate the precision and specialized tools needed for a truly professional, long-lasting finish. If you're ever in doubt, or if your project is bigger than just a couple of lines, give us a call. We're always happy to talk through your options.